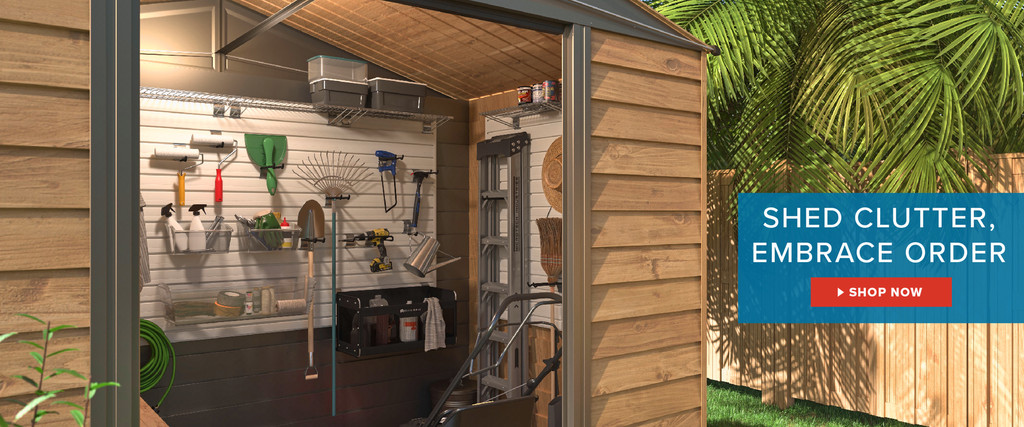

If you're like many homeowners, by the end of summer your tool shed probably resembles the closet of a messy teenager rather than a functioning workspace. Between the clutter of summer toys and the hordes of yard maintenance tools, there's hardly room for more storage let alone space for projects and crafts. Thankfully there are steps you can take to bring order to your shed of shambles. With these five steps you can clean and organize your tool shed and transform it into a comfortable workspace.
1. Start with Bare Bones
Similar to organizing your garage, you should start your shed makeover by completely emptying it of all its contents. Though this may sound like a massive undertaking, it will help the next four steps go much quicker and you'll end with the most organized shed possible. Consider making the clean-out a family event or ask neighbors for help in exchange for pizza and drinks. After the shed is empty, inspect the interior for any signs of damage or deterioration. Replace and repair as needed and give the empty shed a thorough sweep and wipe-down before moving on to step 2.
2. Keep, Toss, and Donate
Once all of the shed's belongings are removed and displayed in an open area, begin to go through the contents and separate your things into three different piles: keep, toss and donate. Keep functioning yard tools, frequently used outdoor gear, car and house maintenance tools in good condition, etc. Toss outdated paint cans, improperly sealed or illegible chemicals, moldy fabrics and woods, dry rotted plastics, and any other contents that might have been damaged by pests. Also, toss anything that is broken beyond repair or may be harmful if used. Donate duplicate items, things you don't use anymore, damaged but repairable tools, outgrown sporting gear, etc.
3. Tackle the Tools
Gardening and yard work tools are typically the most difficult to organize because of their awkward shapes and bi-annual usage. When you are dealing with uniquely shaped tools that are rarely used, it is better to come up with a unique idea for storing them. Innovative designs and custom storage solutions make organization easier for areas like garages and work sheds.
4. Prepare a Plan
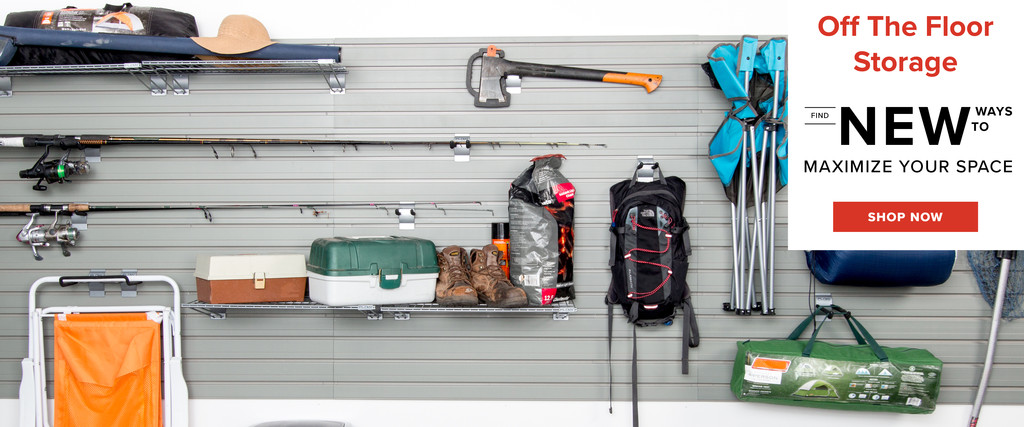
With large tools properly stored, it's time to organize the remaining items in the shed. Consider installing an organization system with cabinets, shelves, and bins to hold things like small gardening and maintenance tools, painting supplies, sporting gear, outdoor gear, and miscellaneous supplies. Get things off of the floor by taking full advantage of your shed's ceiling space. Install a pulley system to hang larger items like bikes, kayaks, skis, ladders etc. and make sure to store remaining chemicals effectively.
5. Designate a Work Space
Finally, with all of your original contents organized and tidy, you can designate a specific area in your shed for a workspace. Consider building a fold-down workbench or invest in a pre-built option with integrated cupboards and storage. Use a pegboard to hang individual tools like hammers, screwdrivers, drills, and paintbrushes and hang a basket for things like gardening gloves, hats, and rags. Get creative with your design and use these tips to create an organization system and turn your tool shed into your very own workspace.